
A customer recently brought in an HP 15 Laptop with a broken screen that they needed to be replaced. We decided to put together a tutorial video with a step by step guide to replacing that models screen though it gives you a rough guide for replacing almost every laptop screen.
- Remove the power from the machine and take the battery out.
- At the bottom left and right corners there are 2 sticky tabs over the screws, use a flat head screwdriver to remove them and stick them down to the laptop’s case.
- Use a Philips screwdriver to remove the bezel screws.
- Pry the bottom part of the screen bezel upwards until it snaps open and then work your way around undoing the bezel.
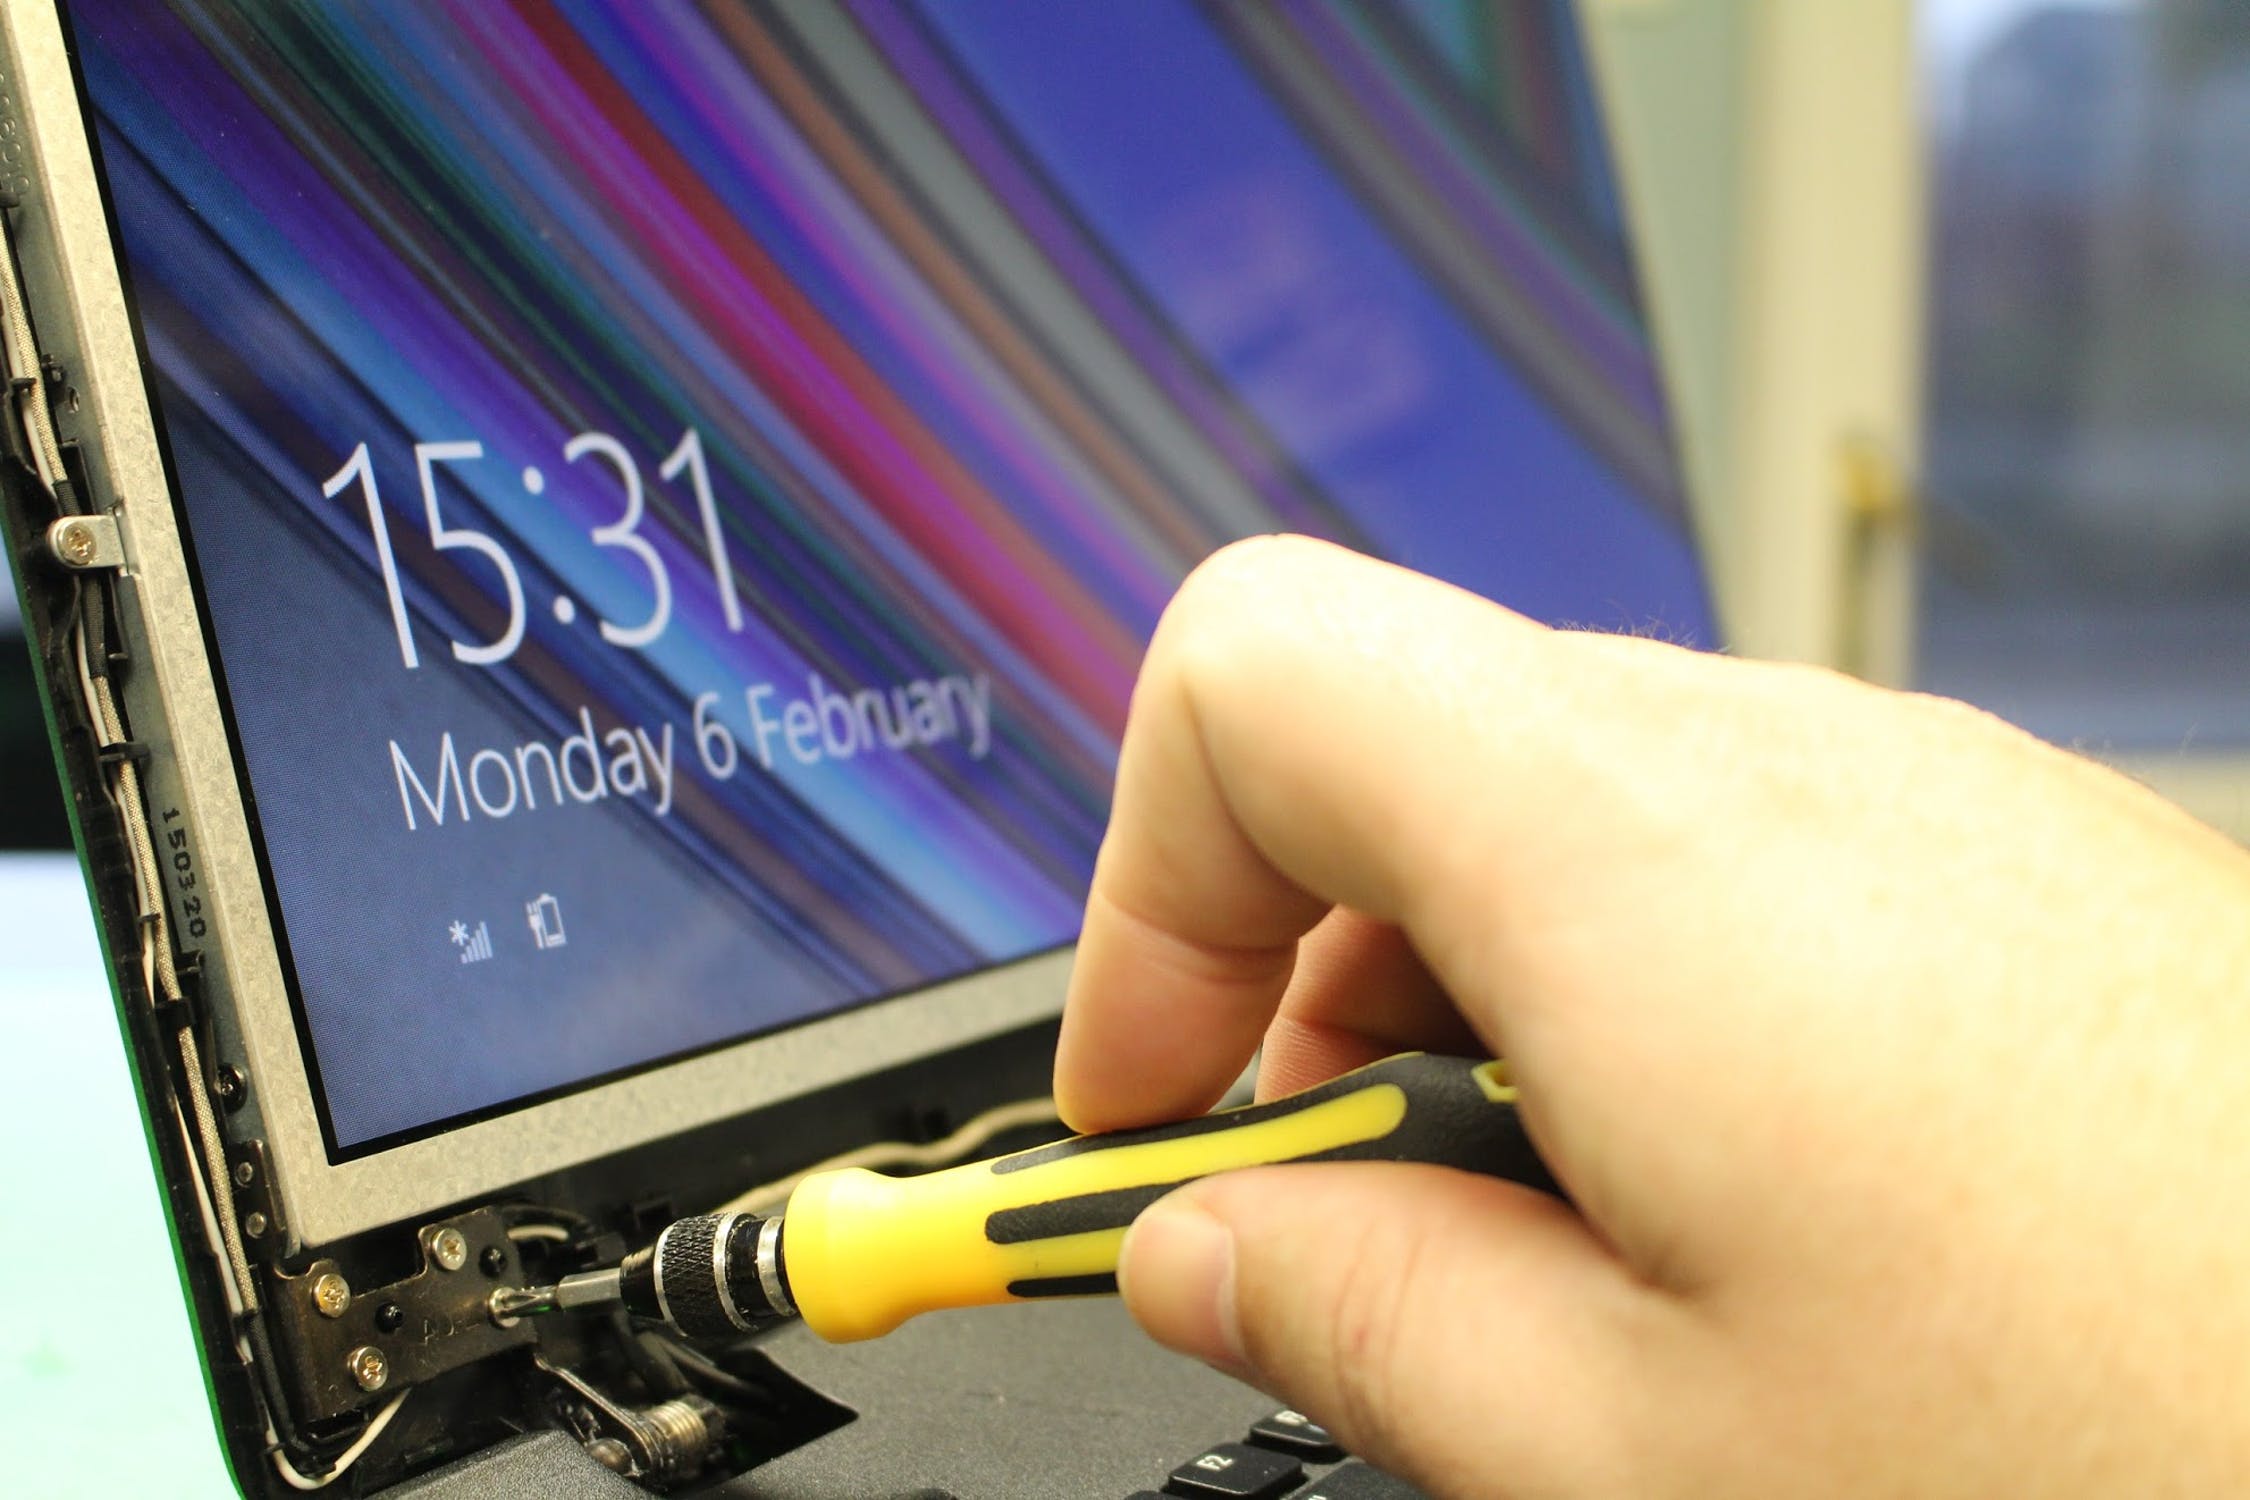
- Next, you need to loosen the back to be able to get to the screws along the edge of the screen. To do this loosen but don’t take out the screws completely at the bottom right and left, there are 2 in each hinge. There are a further 2 screws in the top left and right that need removing completely.
- Next, you need to remove the 3 screws down the side of the screen that goes through the screen brackets.
- With the screws removed, the screen will lift out and lay down on the keyboard.
- The screen table is held on with some tape that you need to peel back then gently pull the screen cable out.
- To replace the screen reverse the steps.
If you don’t like the thought of doing this yourself or want to take the risk of damaging your machine and you are local to Warrington then we can carry out this screen replacement for you. Request a quote, call us on 01925 924430 or email [email protected]